A client recently brought in negatives from the 40s and 50s. We made contact sheets in the darkroom for the client so they could see the family members throughout the years.

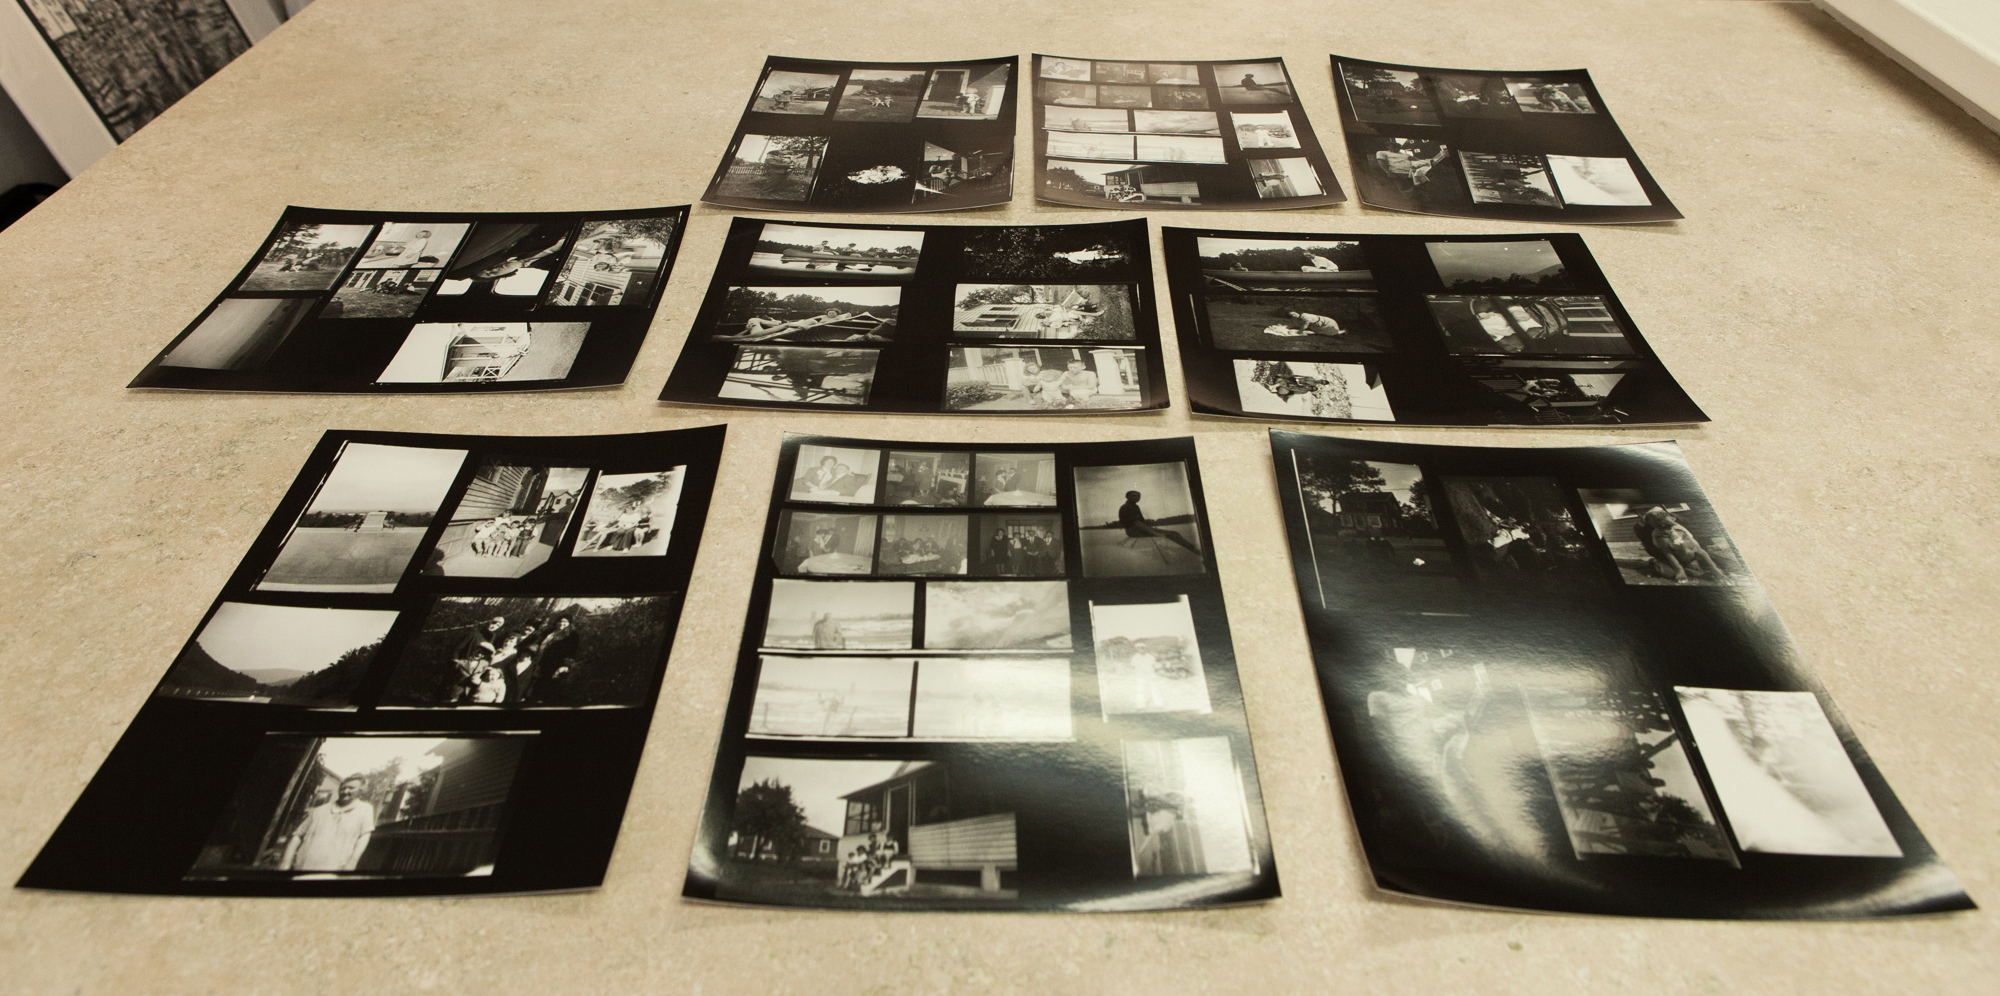

A client recently brought in negatives from the 40s and 50s. We made contact sheets in the darkroom for the client so they could see the family members throughout the years.
While we use photoshop on daily basis to create beautiful digital images we also love using traditional darkroom techniques to create the best fiber or RC print we can. Almost every print we make requires some dodging and burning. Here is a brief explanation of dodging and burning:
BURNING IN
This is where a portion of a print is too bright after the main exposure. The majority of the print looks good, so additional exposure would make it too dark. To fix this you add additional light ONLY to the bright area. To do this you cut a hole in cardboard or use your hand in a cup shape to project a beam of light back onto the paper AFTER the main exposure. This happens a lot in skies or if a heavy flash has been used. We also use burning to add a vignette to an image.
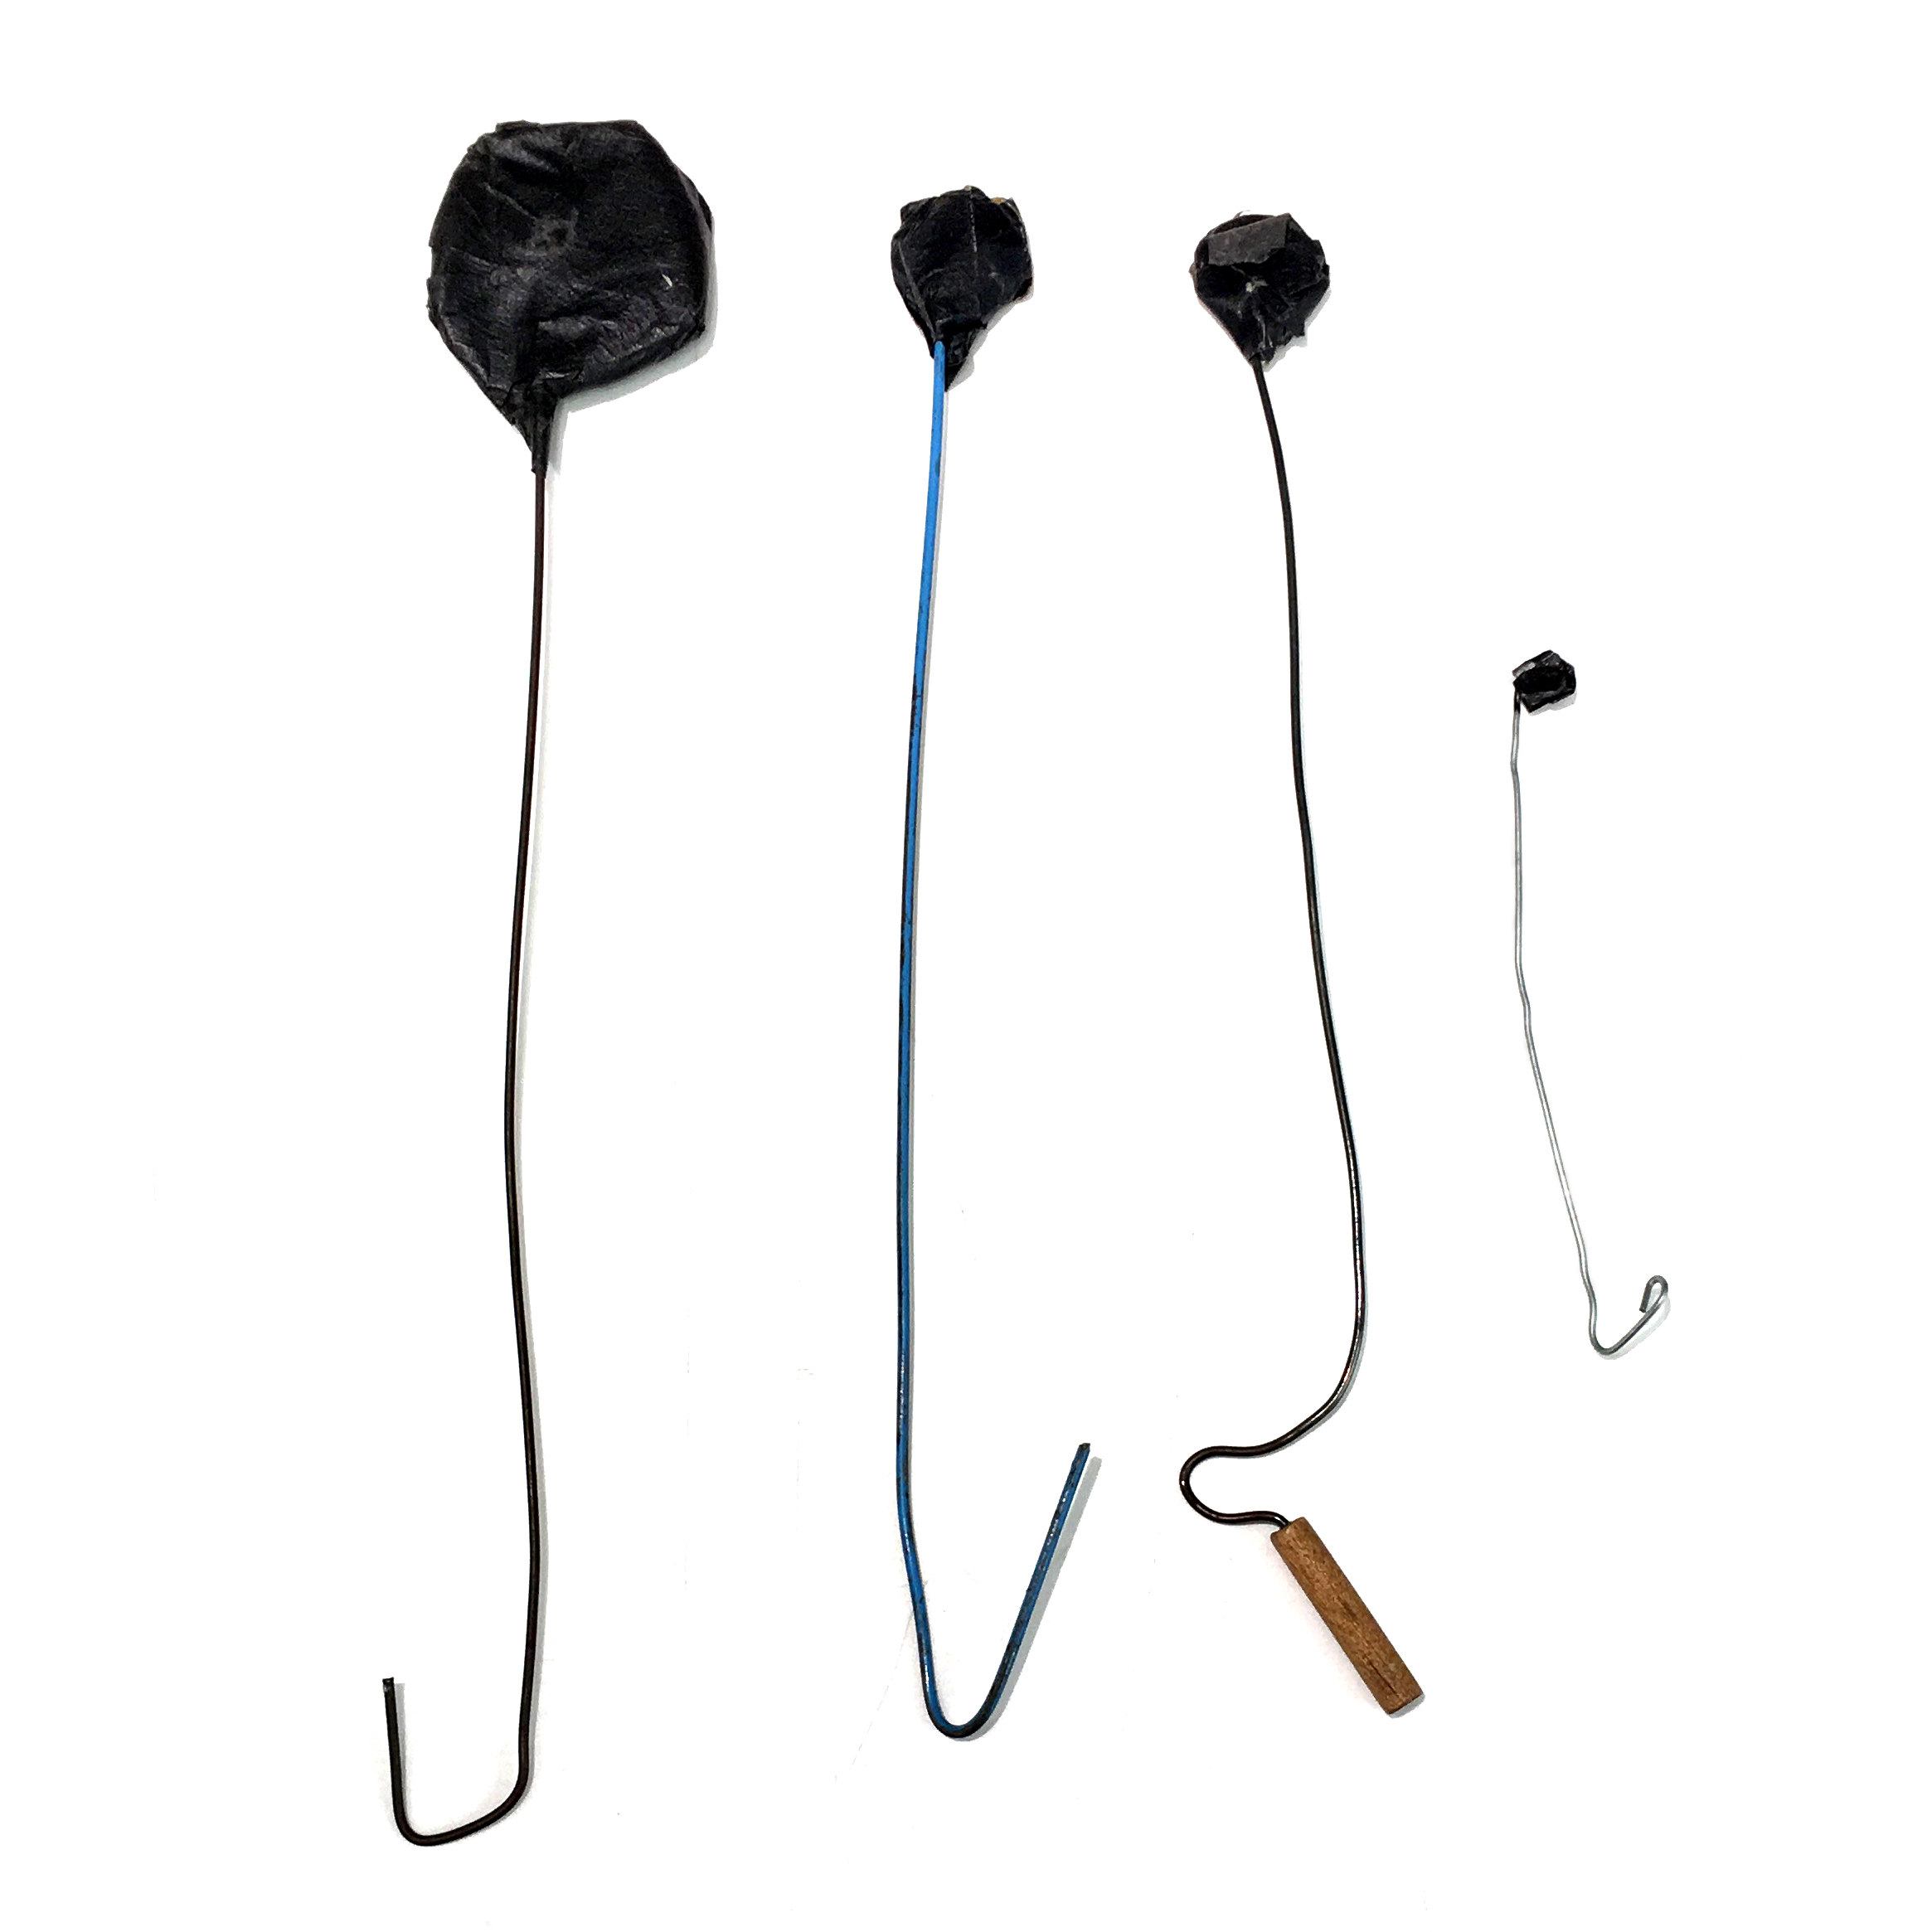
Some of our burning tools
DODGING
This is where a portion of a print is too dark in the shadows after the main exposure is made on the enlarger. To fix this during the exposure you hold back or shade the problem area with a dodge tool (a piece of dark cardboard or plastic on the end of a thin metal wand). The time using the tool varies depending on how dark the problem area is during the main exposure. It is very important to keep the dodge tool in motion during the exposure, this helps feather the effect and makes it blend into the rest of the photograph. We usually use dodging in shadows to bring out texture in the print. You want to have a rich black but you do not want to block up all of the shadows in the image to achieve the rich black!
Some of our dodging tools
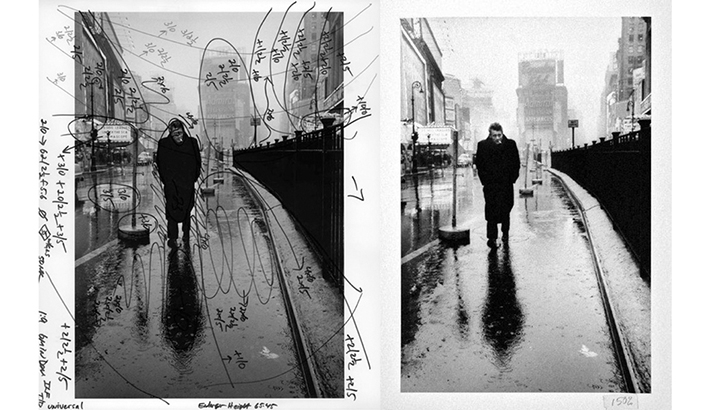
An example of darkroom dodging and burning from Fstoppers
If you want to learn more about darkroom editing we recommend checking out this post on FStoppers Website
The world of digital papers is endless but not all papers are created equal! Here at Panopticon we use a variety of papers with Canson and Epson being our preference for their archival natures. While we have our favorite papers to work with we are always happy to custom order papers for you and create new printing profiles for our printers. Paper choice is a personal preference and we recommend that you come in to review the options and talk to us about what you are looking for. If you are not able to come in to the office we can provide you with test prints on a variety of papers so you can review them at your convenience.
Our price lists offer two qualities of paper: standard and exhibition. Both paper options use archival inks. The only difference is standard papers are a lighter weight than the exhibition papers. If you think about it in old school darkroom terms, standard paper is the equivalent to RC paper and exhibition paper is fiber paper (for a more in depth look at darkroom papers visit our Darkroom Details blog post!)
Here are some of the papers we offer for digital printing:
* - marks "standard" papers"
MATTE PAPERS:
Epson Hot Press Natural
Epson Hot Press Bright
Epson Cold Press Bright
Canson Rag Photographique
Hahnemuhle William Turner
Epson Enhanced Matte *
GLOSSY & LUSTER PAPERS:
Canson Platine Photo Rag
Canson Baryta
Epson Premium Luster *
Breathing Color Vibrance Metallic
Harmen Fiber Based Wamrtone
Ilford Gold Fibre Silk
Hahnemuhle Fine Art Pearl
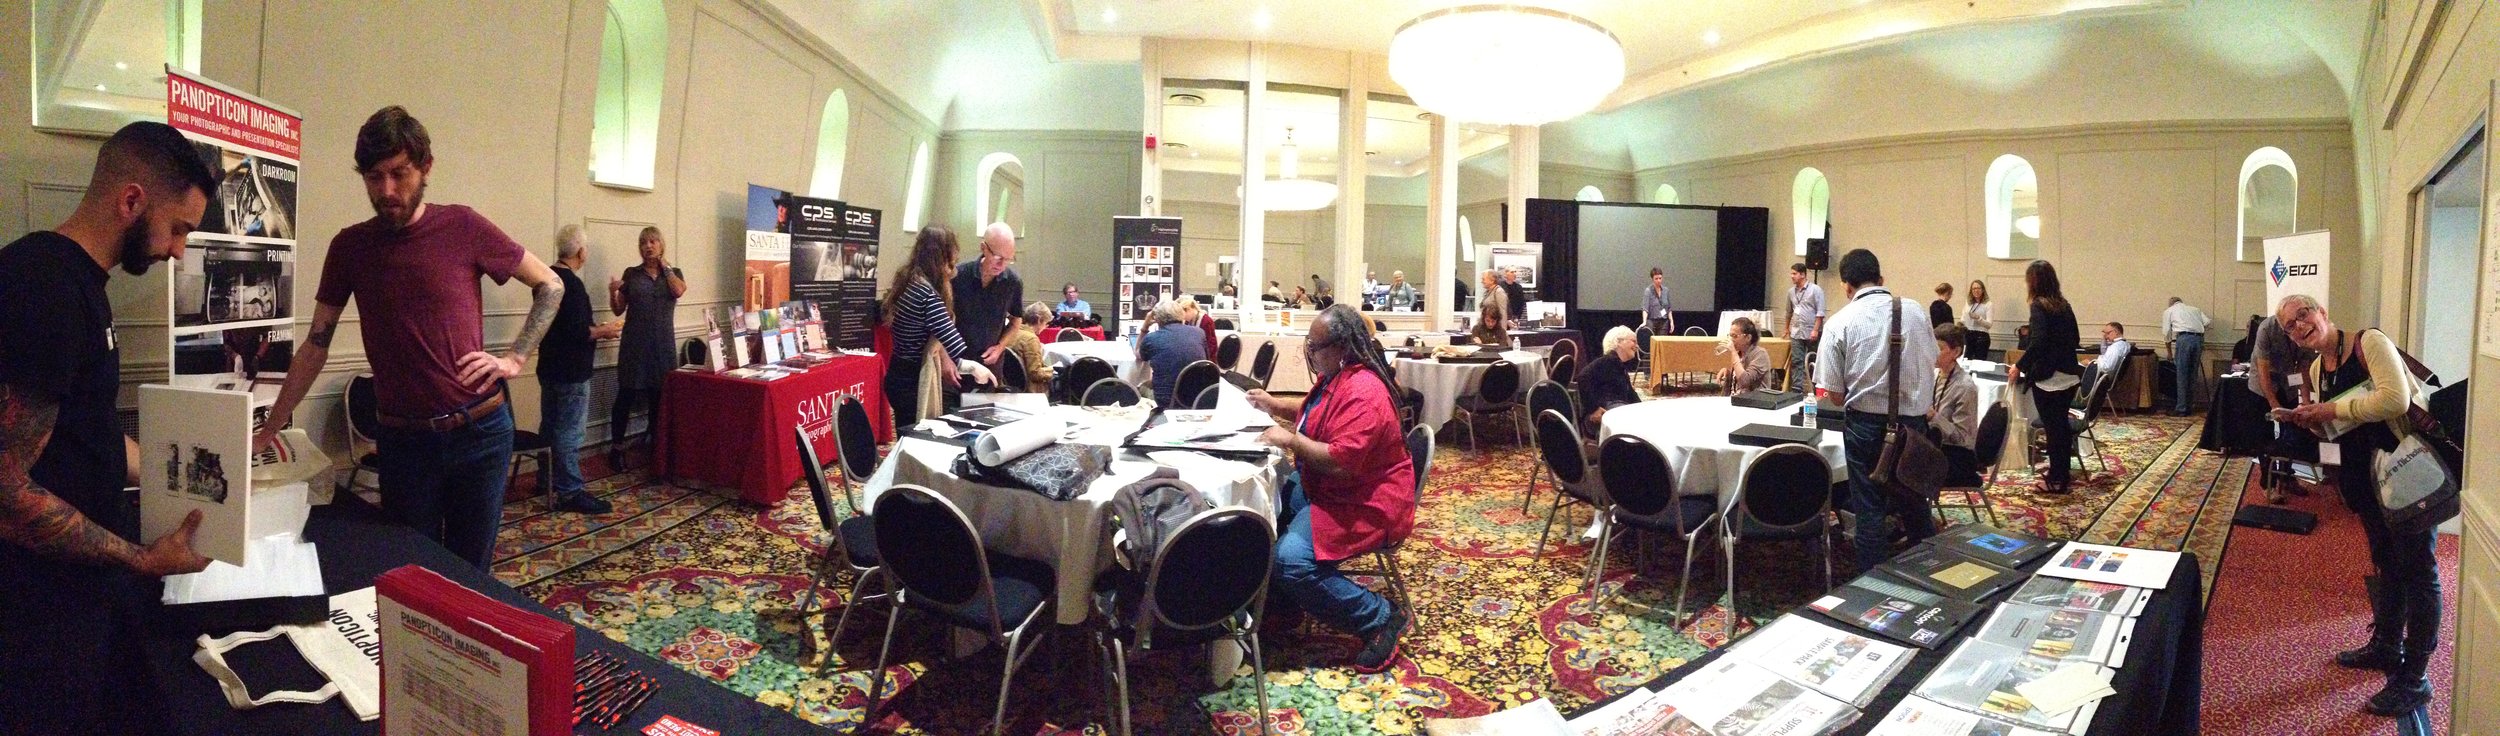
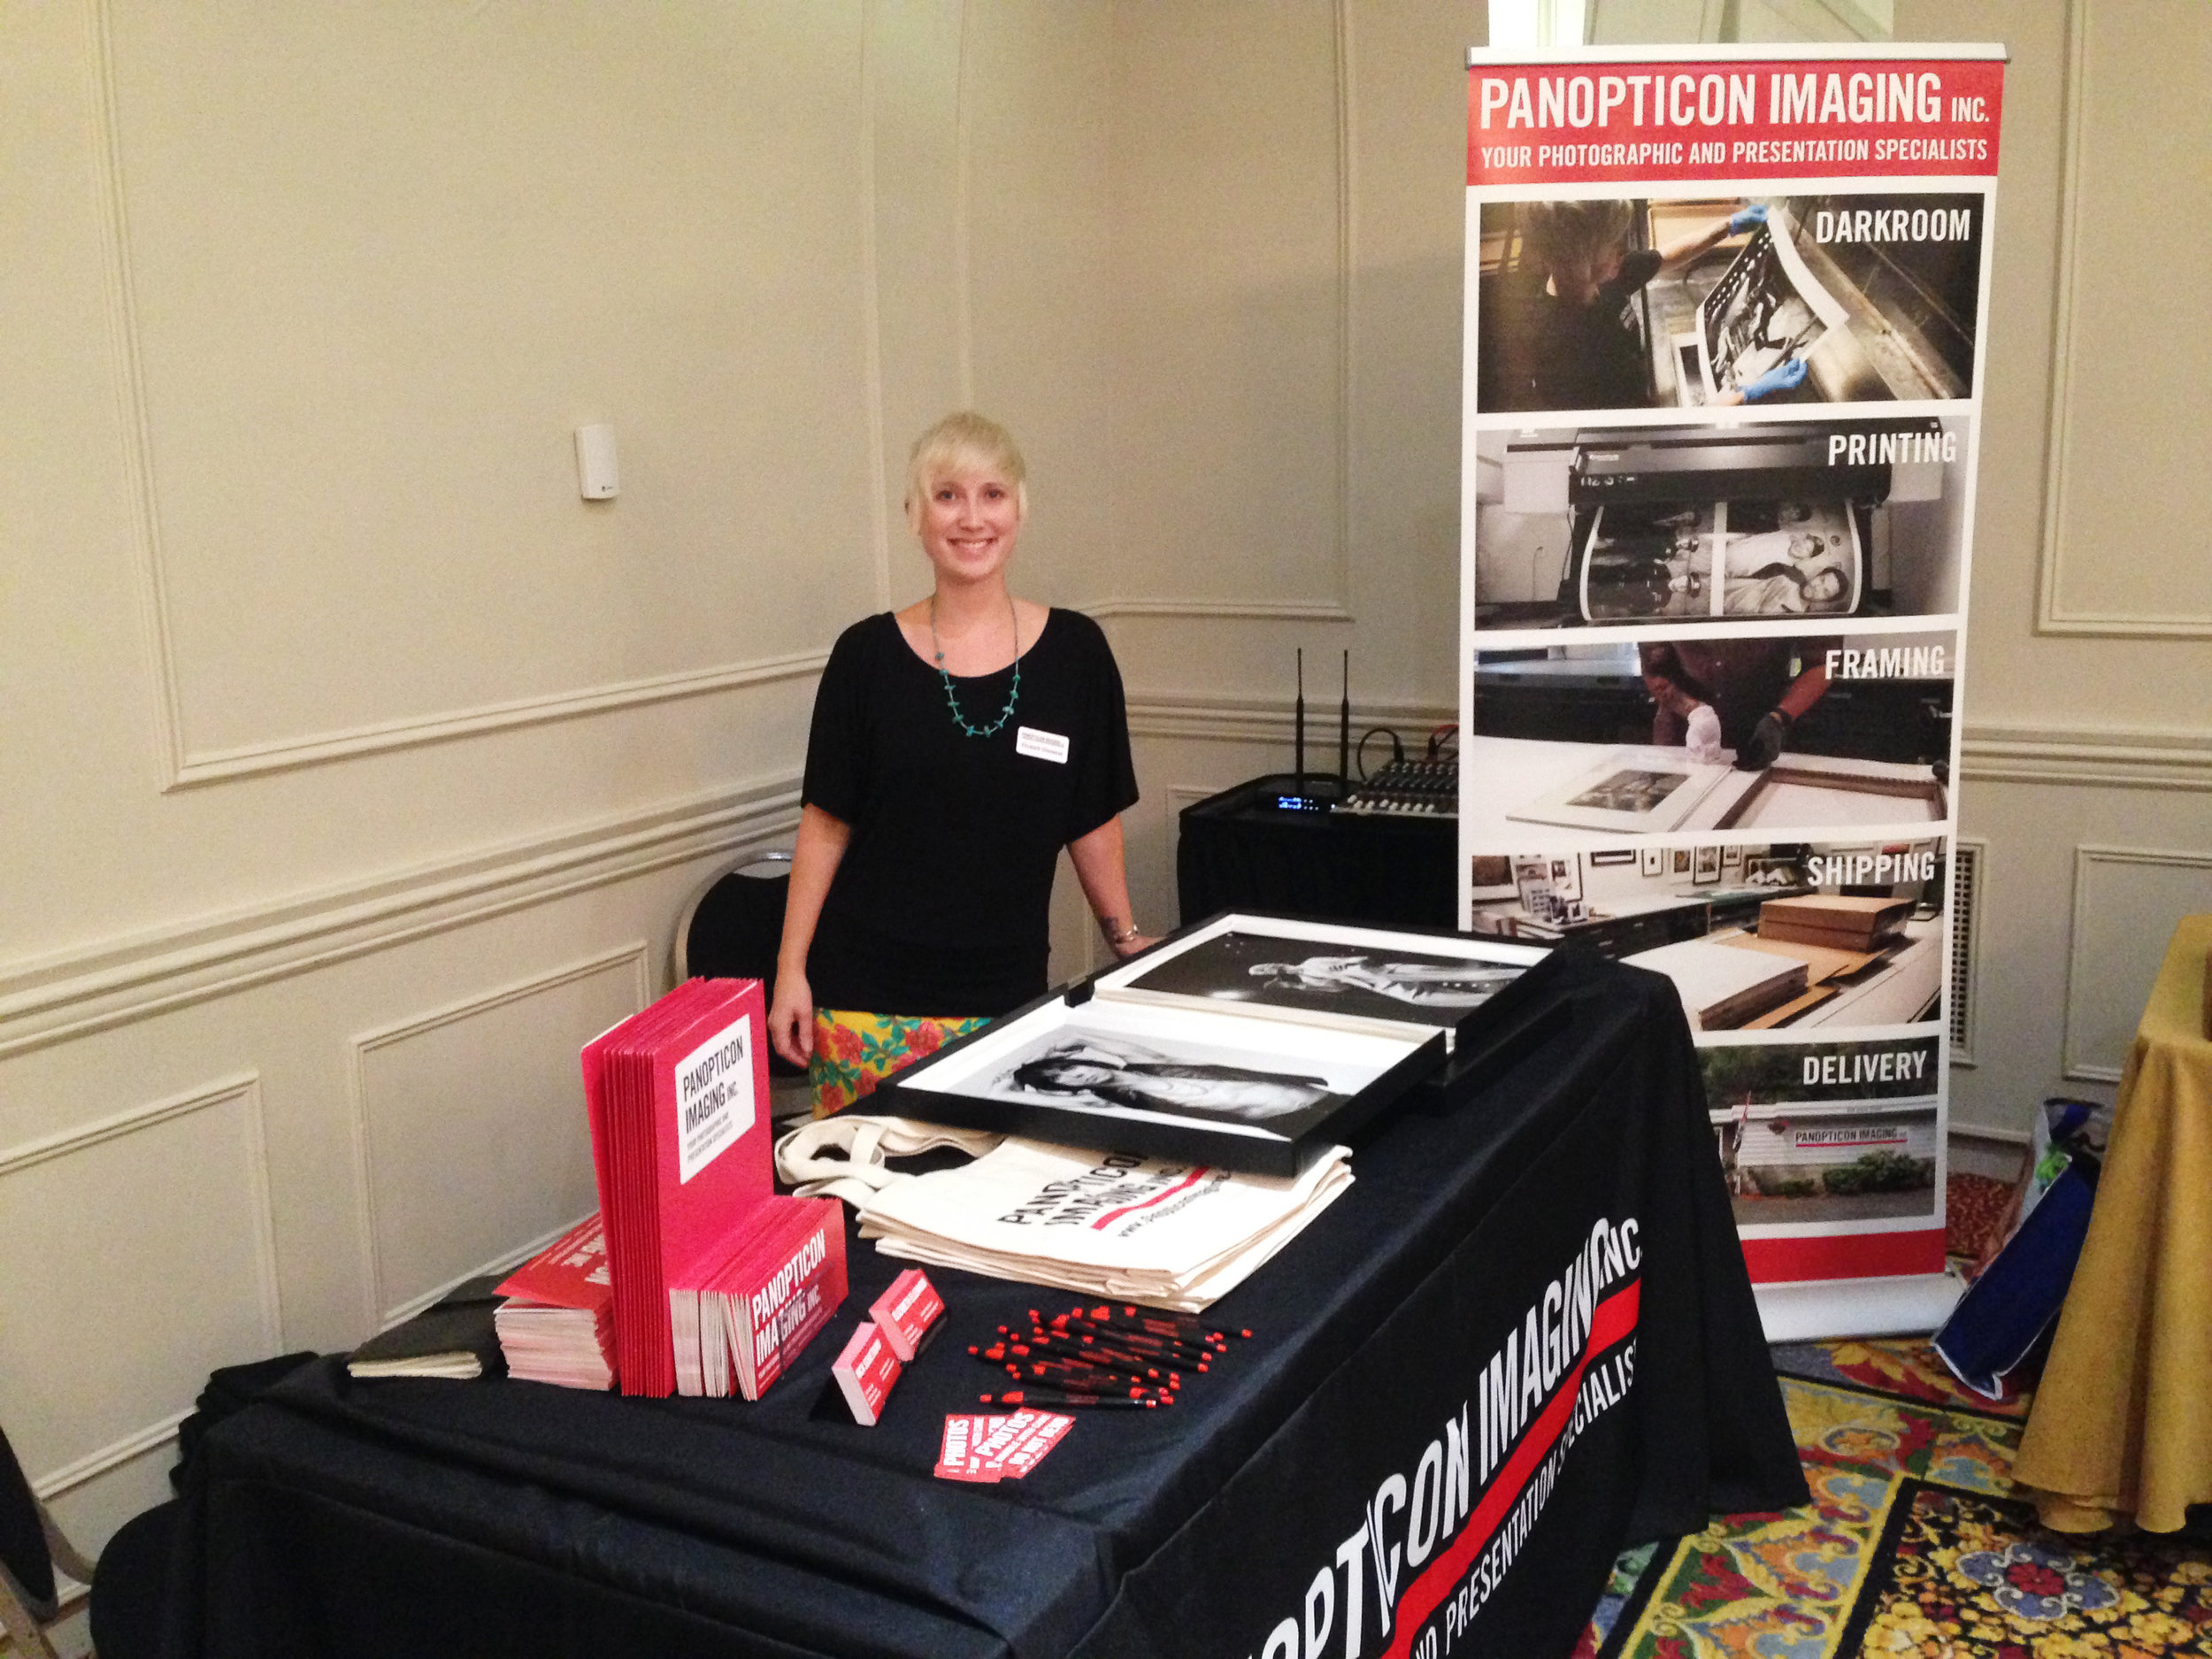
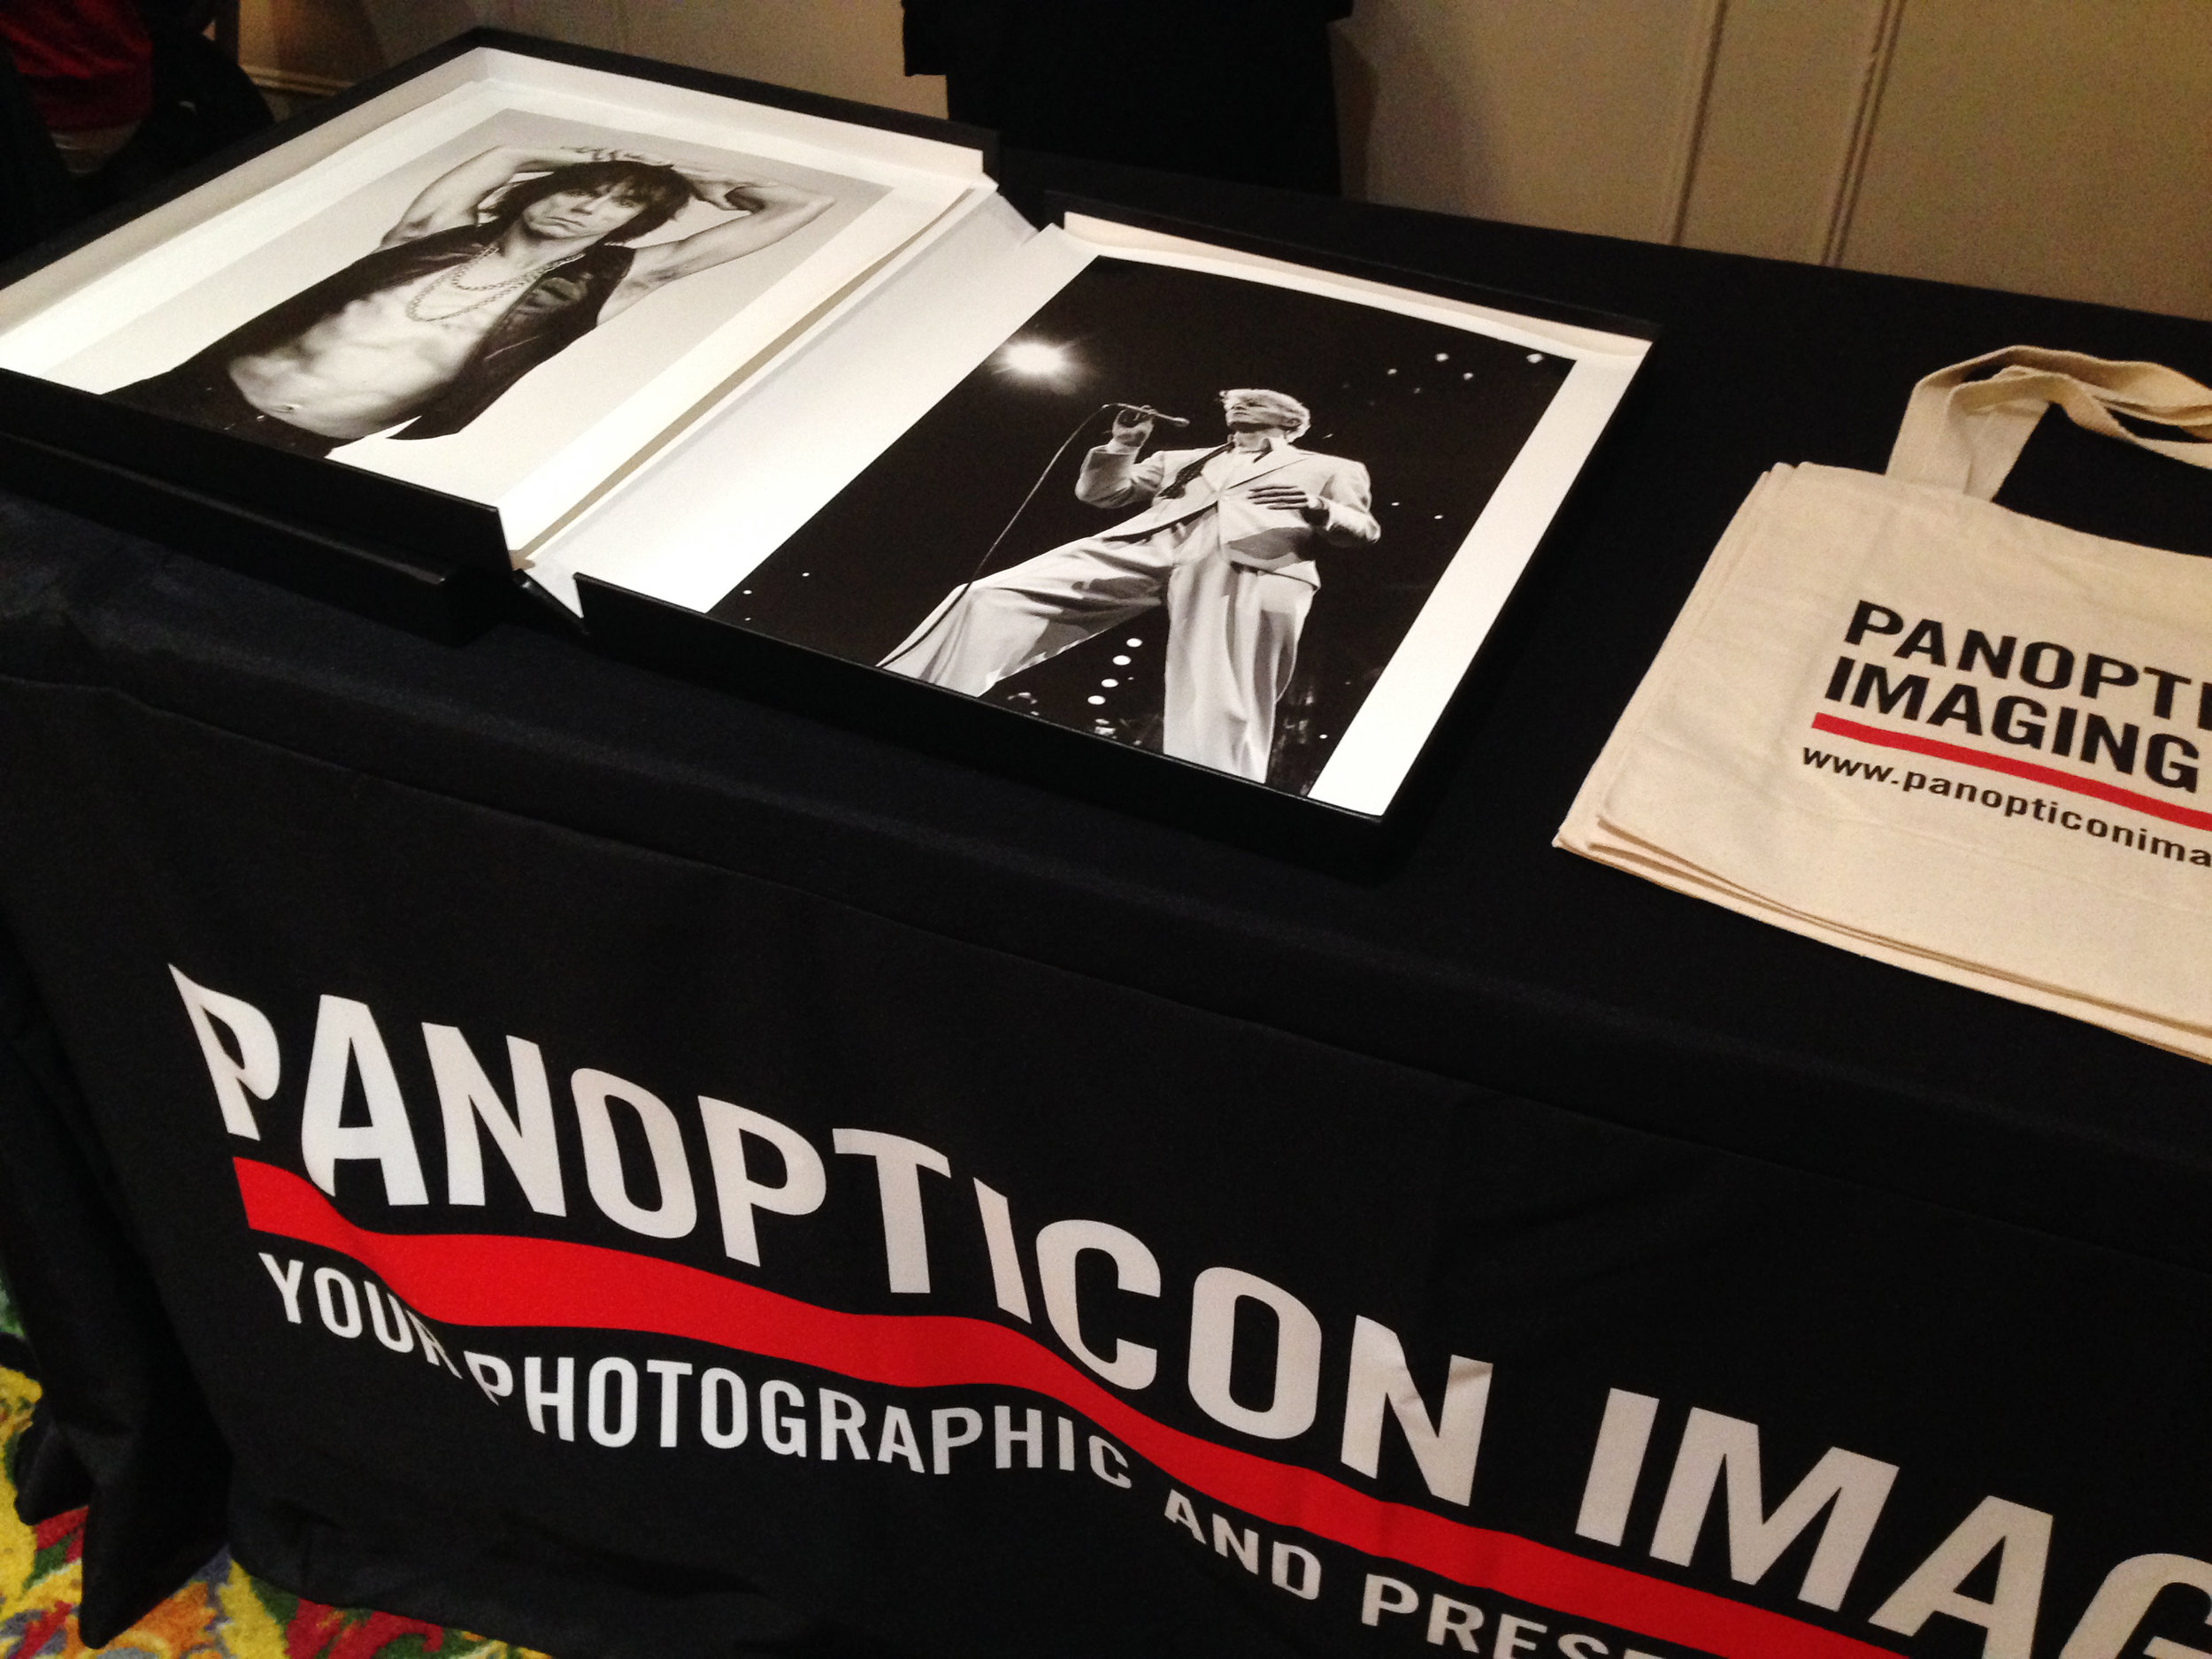
We were delighted to be a sponsor and exhibitor of this year’s Filter Photo Festival in Chicago! This was our first time attending the festival and we were very happy to see some familiar faces as well as meet so many talented artists.
The days were broken up into portfolio reviews, lectures, and workshops. In the evenings there were gallery openings and artist talks.
One evening we attended an artist talk by Clarissa Bonet at the Catherine Edelman Gallery. Clarissa received her M.F.A. in photography from Columbia College Chicago in 2012 and her exhibition of city spaces and light was very impressive.
Power and Politics, juried by Barbara Tannenbaum, Curator of Photography at the Cleveland Museum of Art
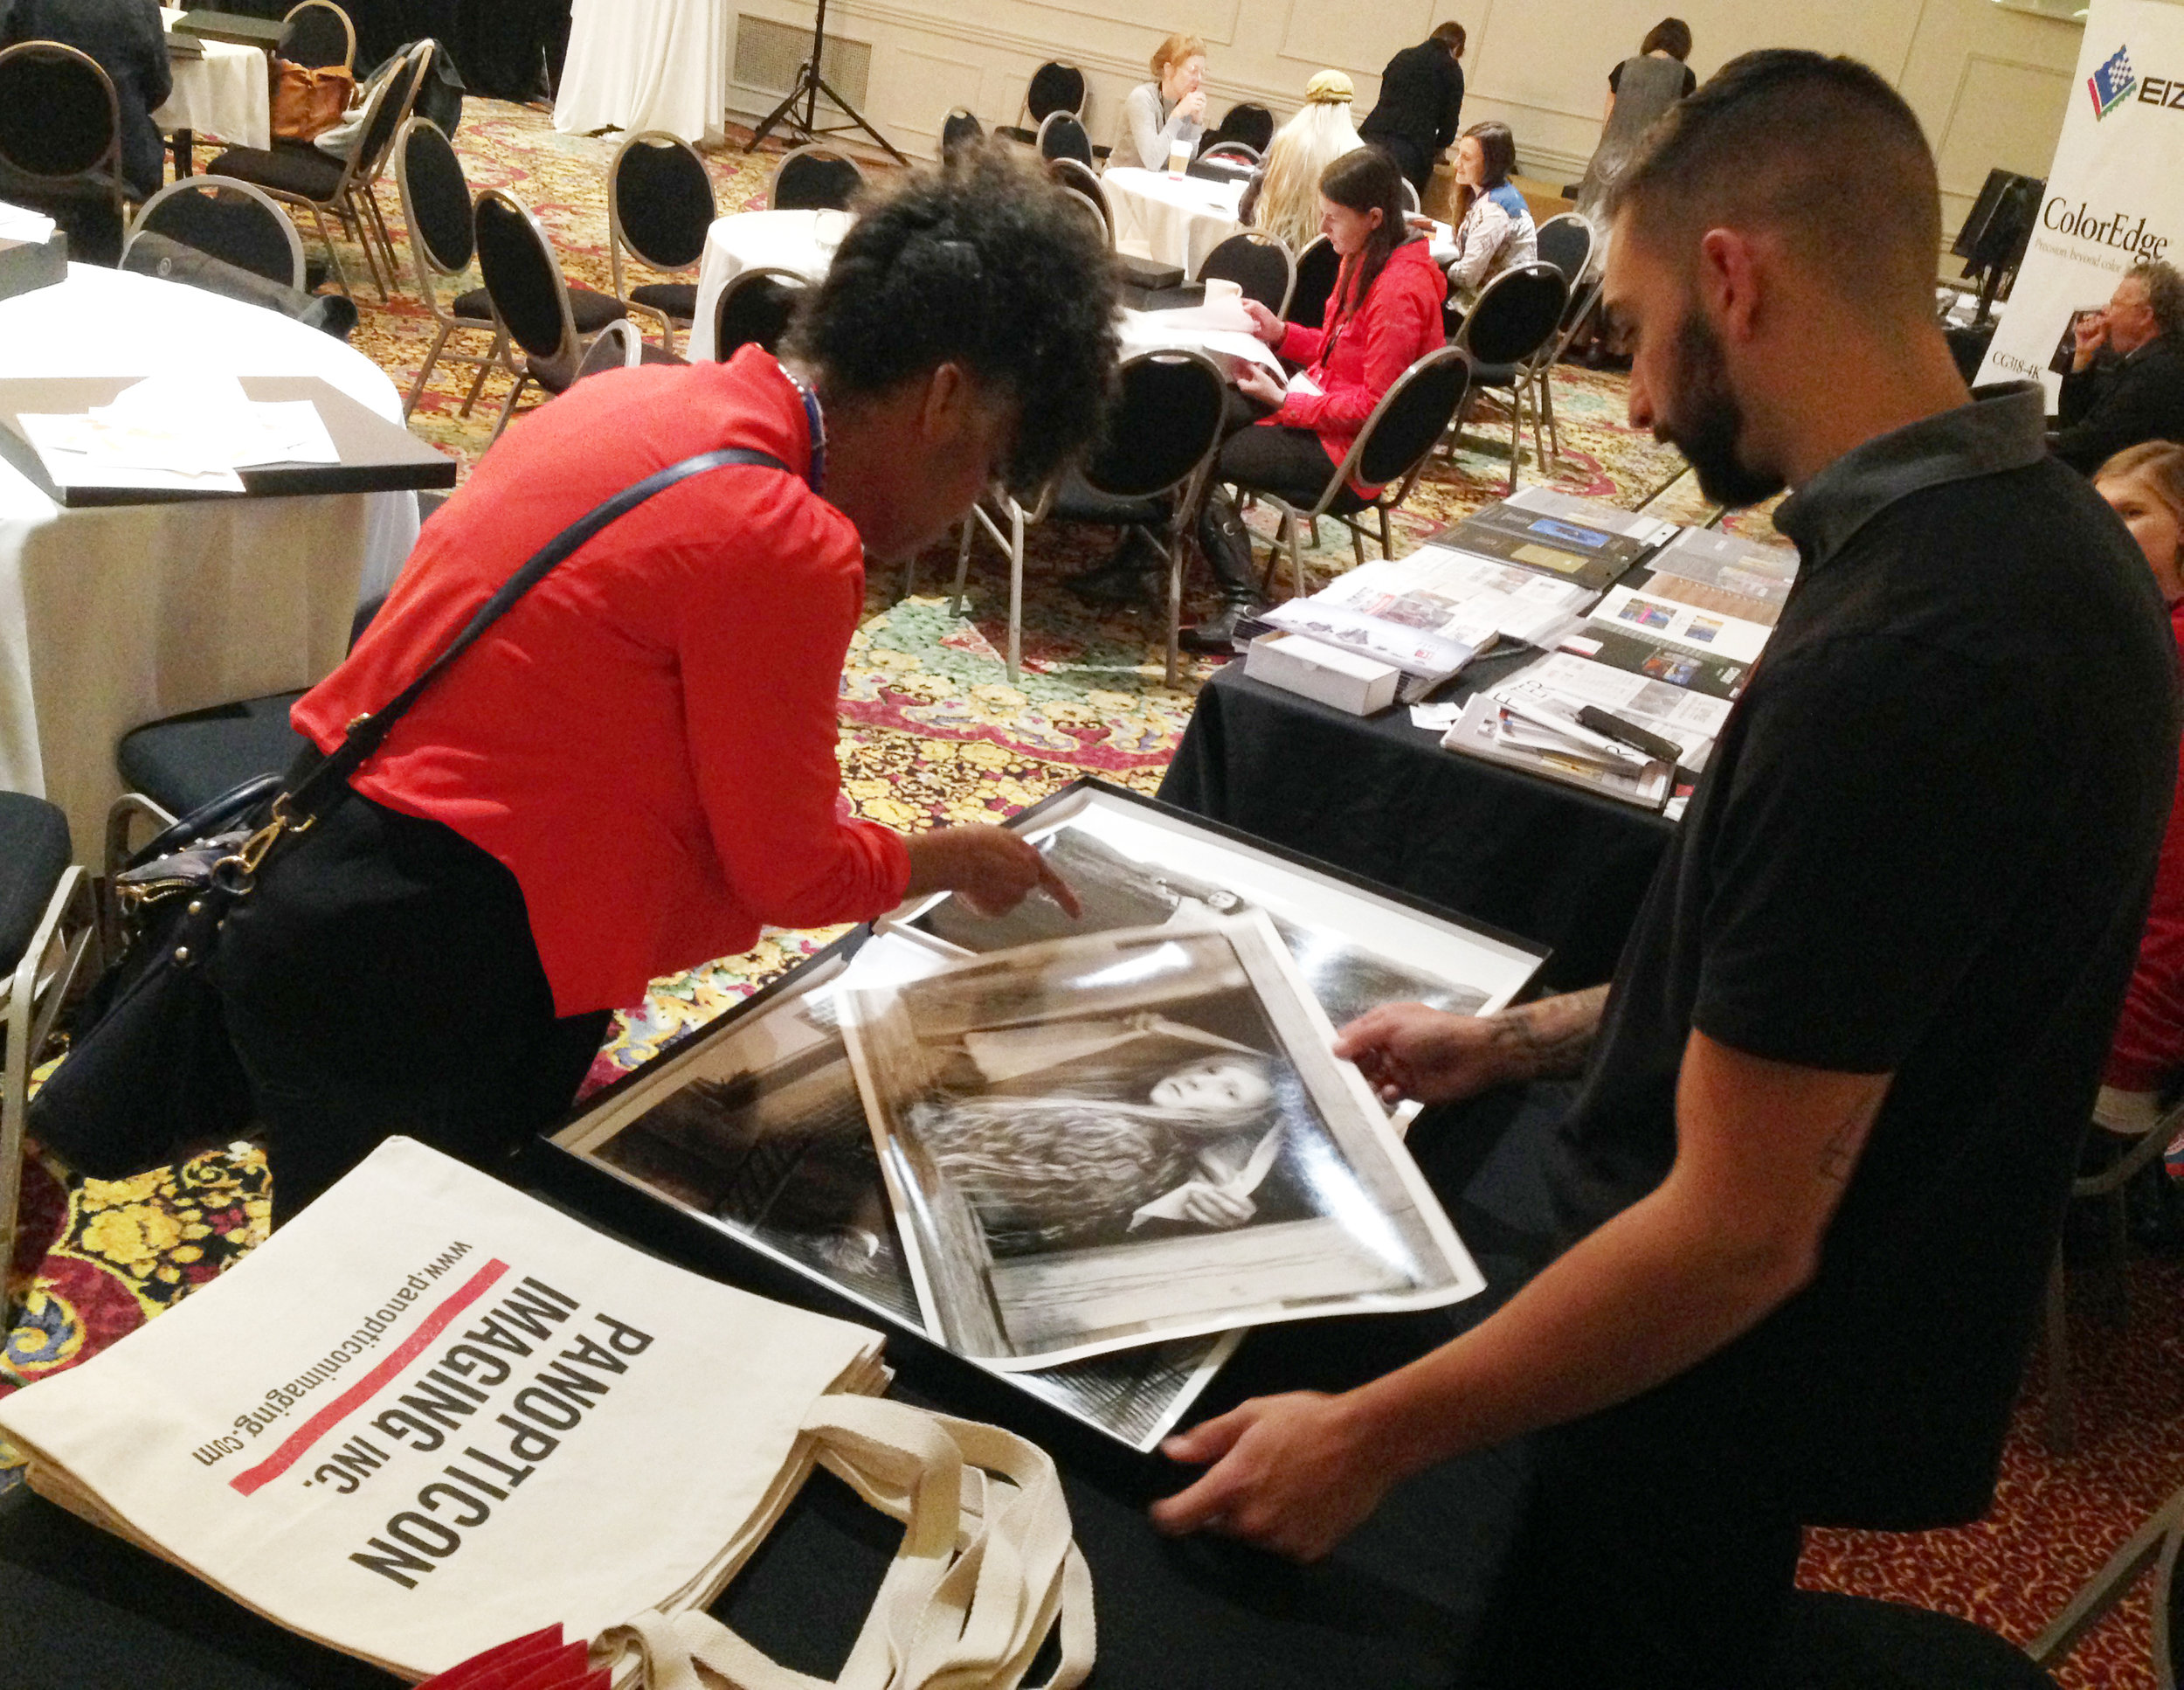
One of our favorite events was the portfolio walk. Each artist was invited to have their work out on tables and it was open to the public. Artists, reviewers, friends and family, and the general public joined the festival for an evening of mingling, looking at and talking about artwork.

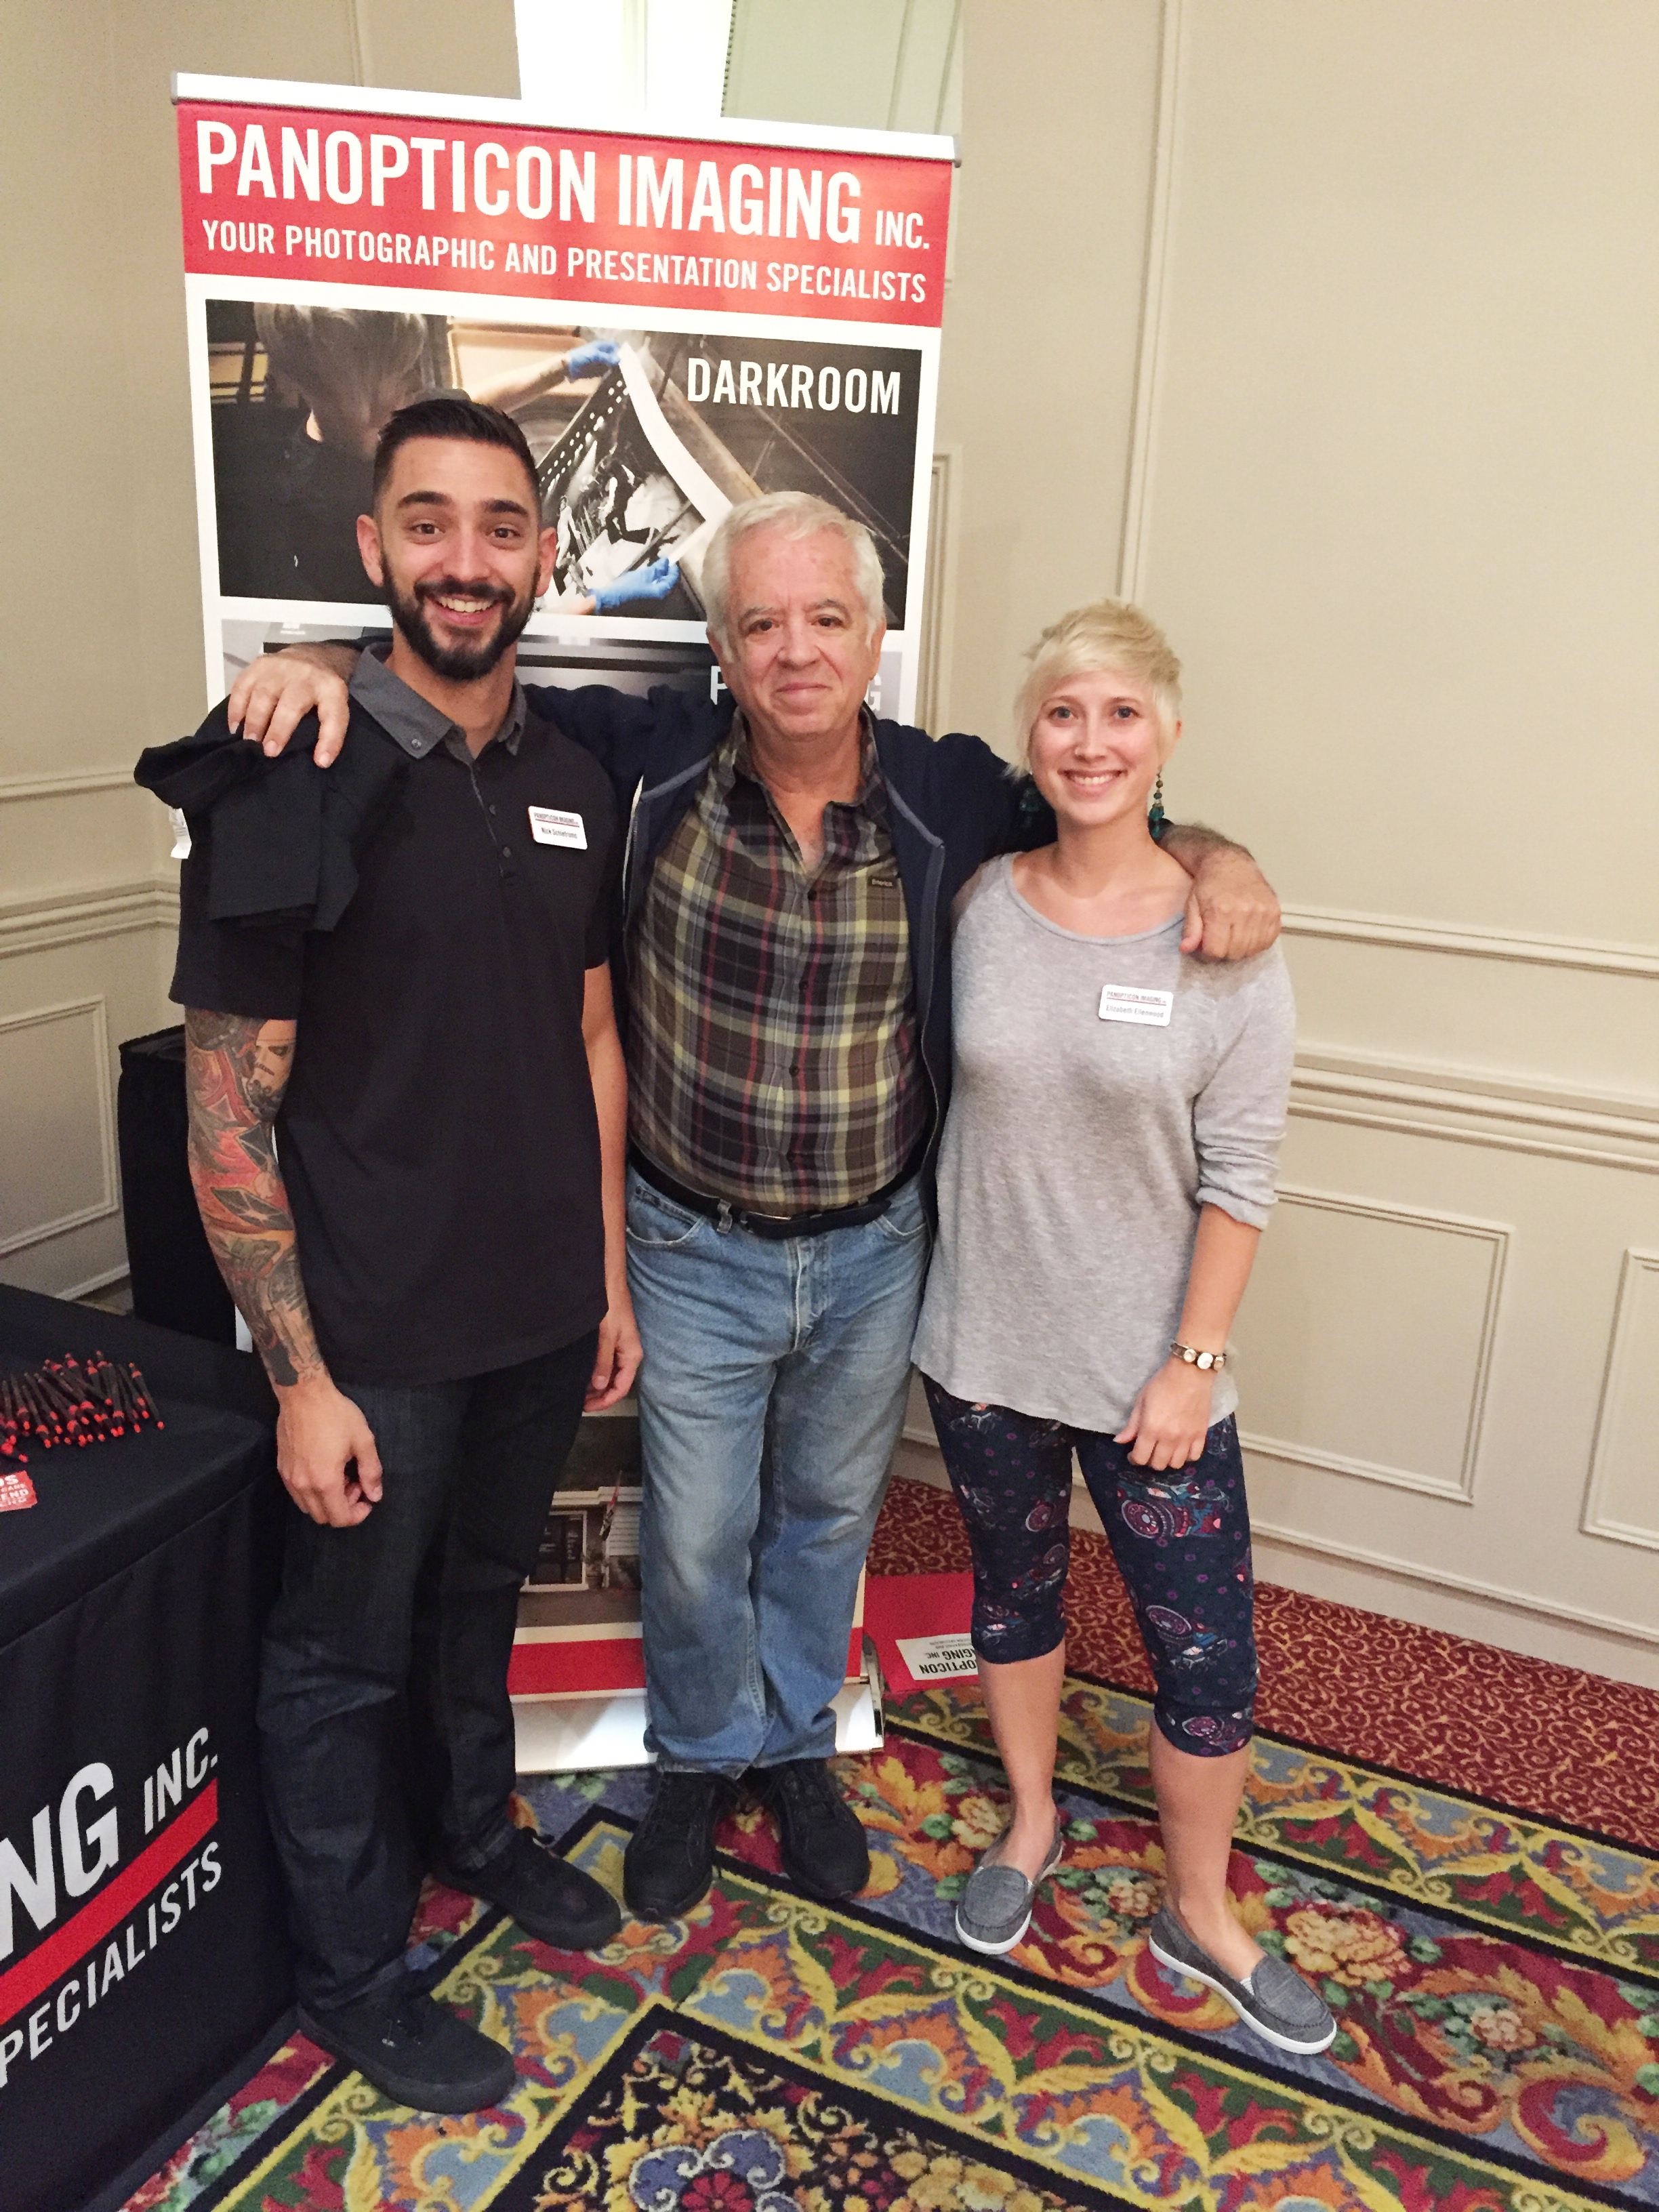
Most importantly we got to meet and hang out with some really talented and wonderful artists the whole weekend! Thank you to Filter for all their hard work and making us feel welcome! We hope to see everyone again next year.
Regular Glass (Premium Clear)
This is the most economical option for framing and can be used for general purposes. However, this glass does not have UV qualities and not recommended for fine art.
UV Glass (Conservation Clear)
Highly recommended for preserving your images and where images will be displayed in bright areas of your home. There is 99% UV protection with this glass option. Best upgrade for little money, recommend to all our clients who are framing original or one of a kind artwork or who will have images in direct sunlight.
Anti-Reflective Glass (AR Glass, Reflection Free Glass)
This glass nearly eliminates all reflections. It is highly recommended for images with rich dark areas. This does not have any useful UV protection. Best for images that will not be placed in direct sunlight.
Museum Glass
This glass is the combination of UV Glass and Anti-Reflective Glass. This has 99% UV protection and will protect your artwork from fading. This is highly recommended for limited edition artwork and vibrant works of art.
Call the office today and we can review the different glazing options for your work of art. We can be reached at 781-740-1300.