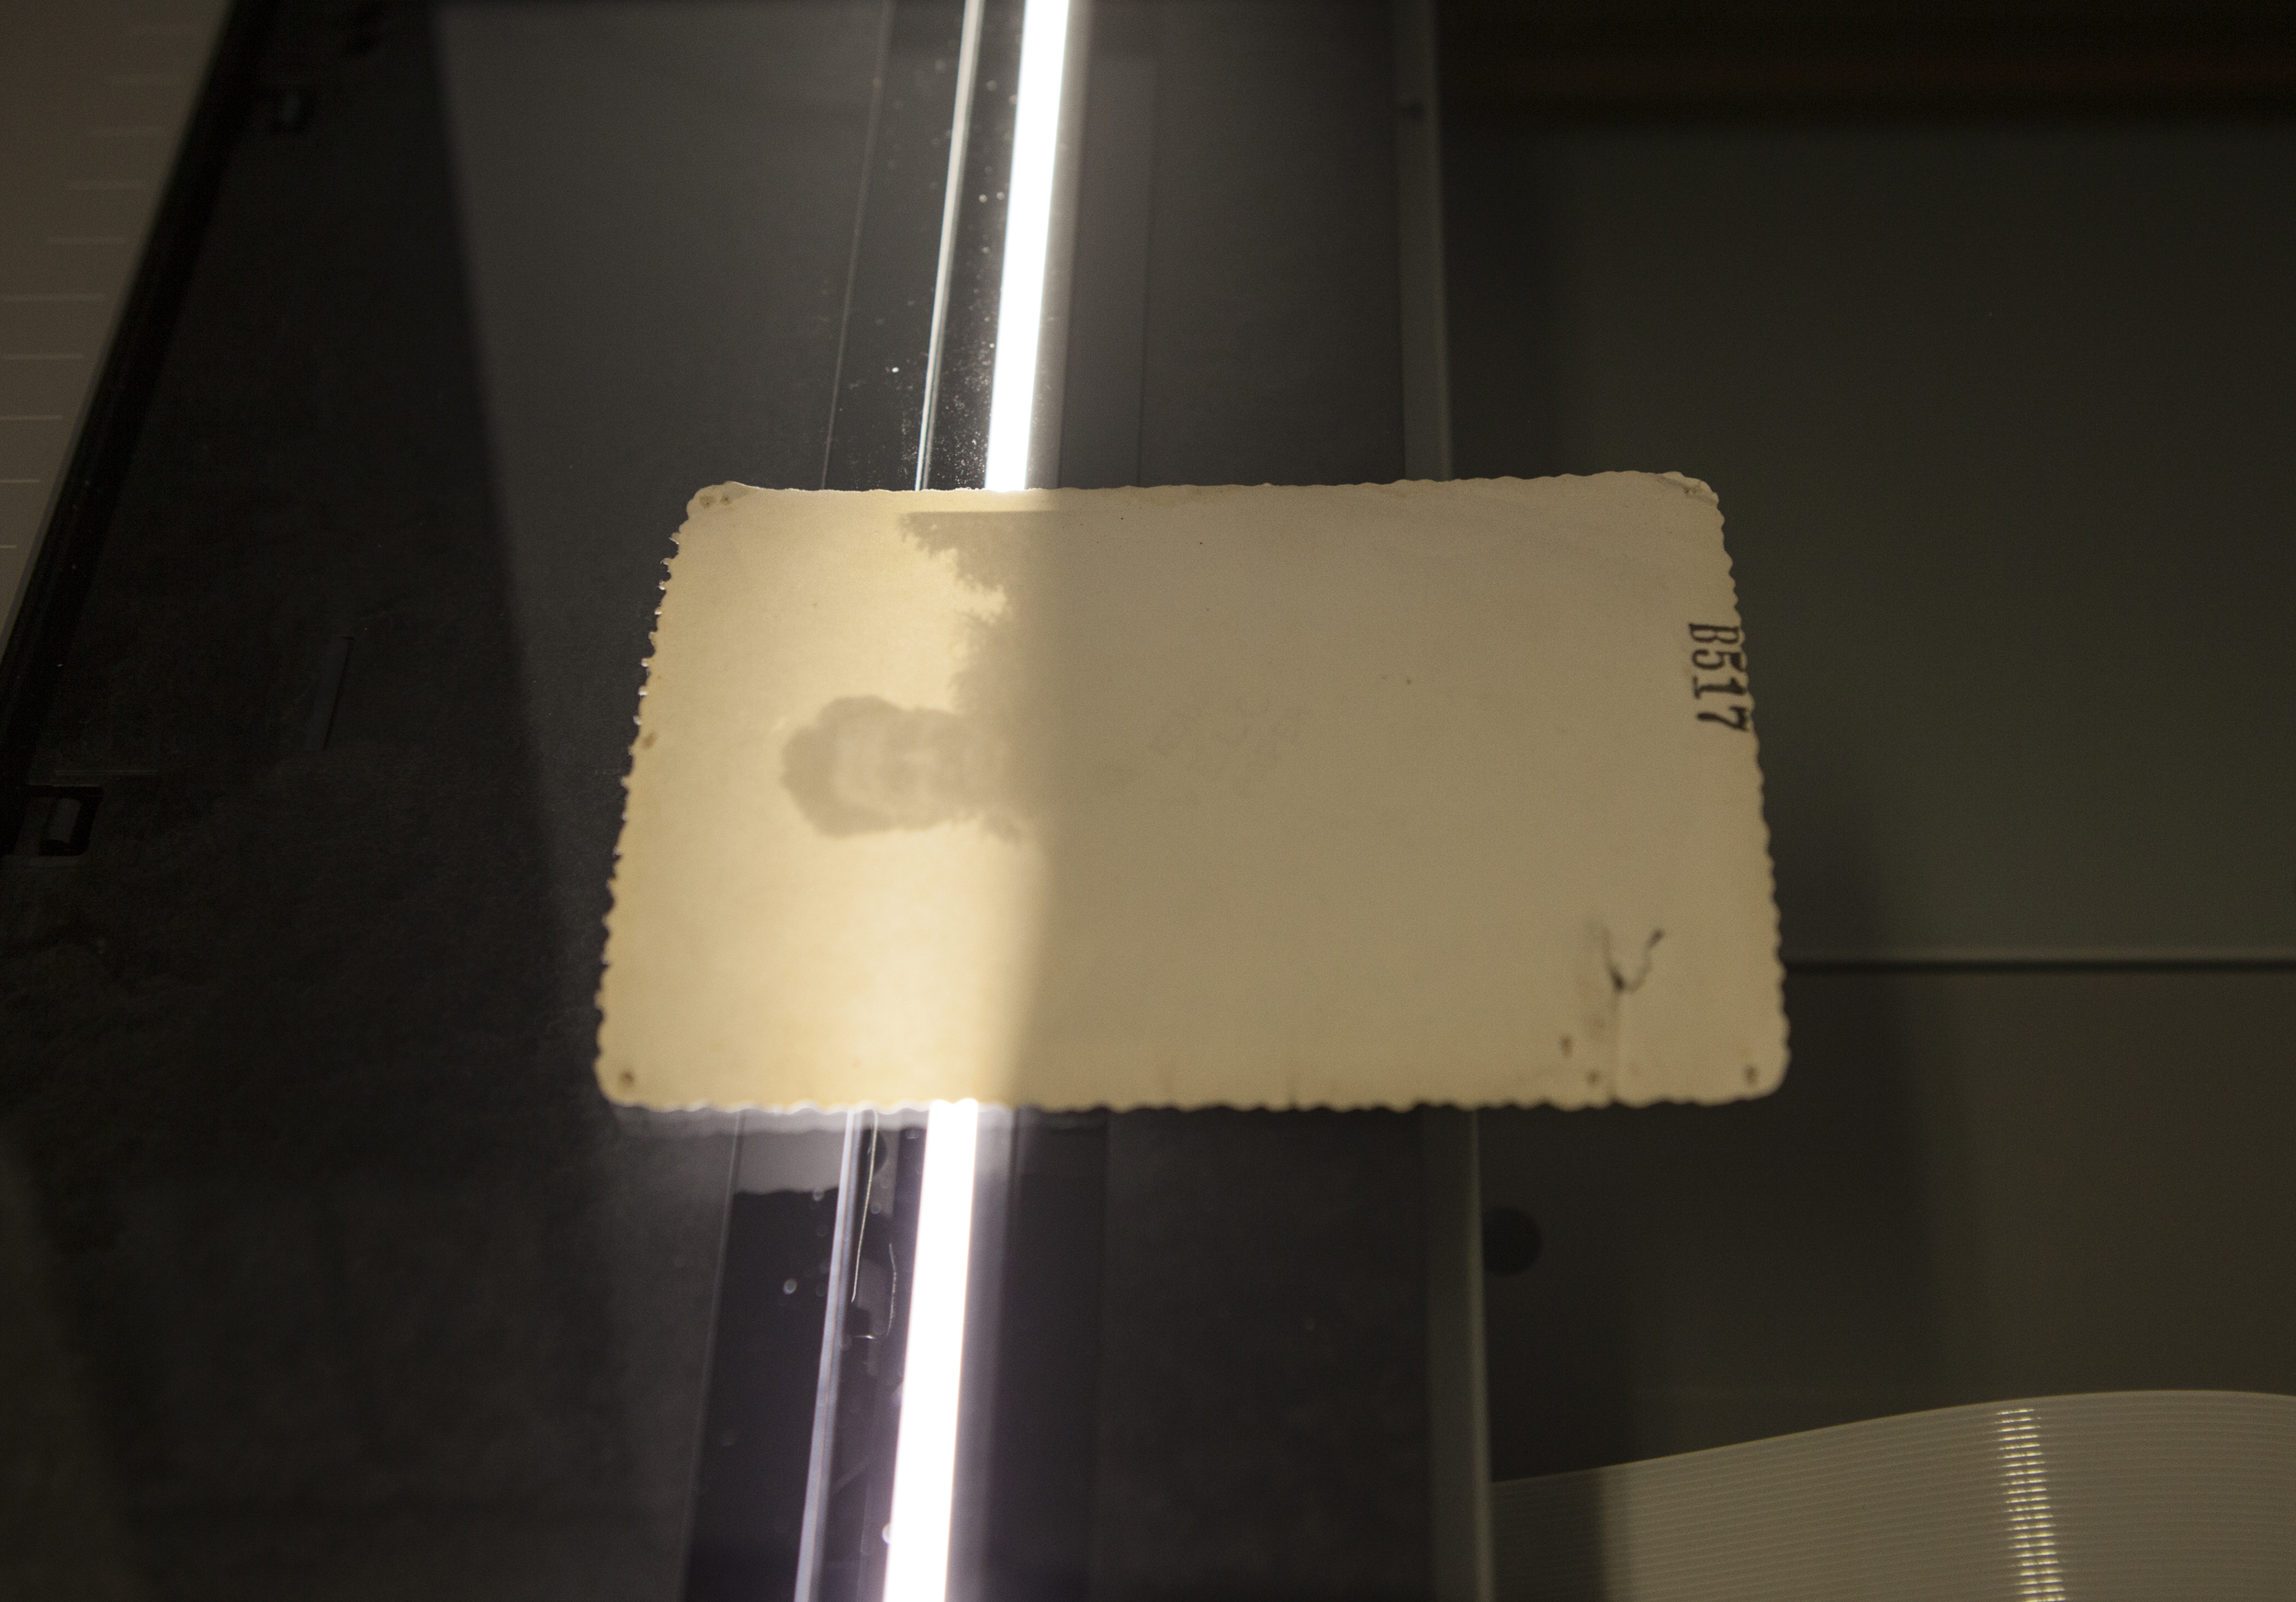
We see a lot of vintage photos here at Panopticon Imaging. They range from wedding portraits to family photos throughout the years to military portraits, the list goes on! Here are the steps we go through for a photo restoration: STEP 1: Bring in your old photograph to the office. We will review the image with you & give you an estimate of how much & how long it will be to digitally restore. We DO NOT restore the original photograph. We scan it and digitally correct the image through Photoshop.

STEP 2: We scan your image. Using our high resolution Epson scanner, we create a digital copy from the original photograph.

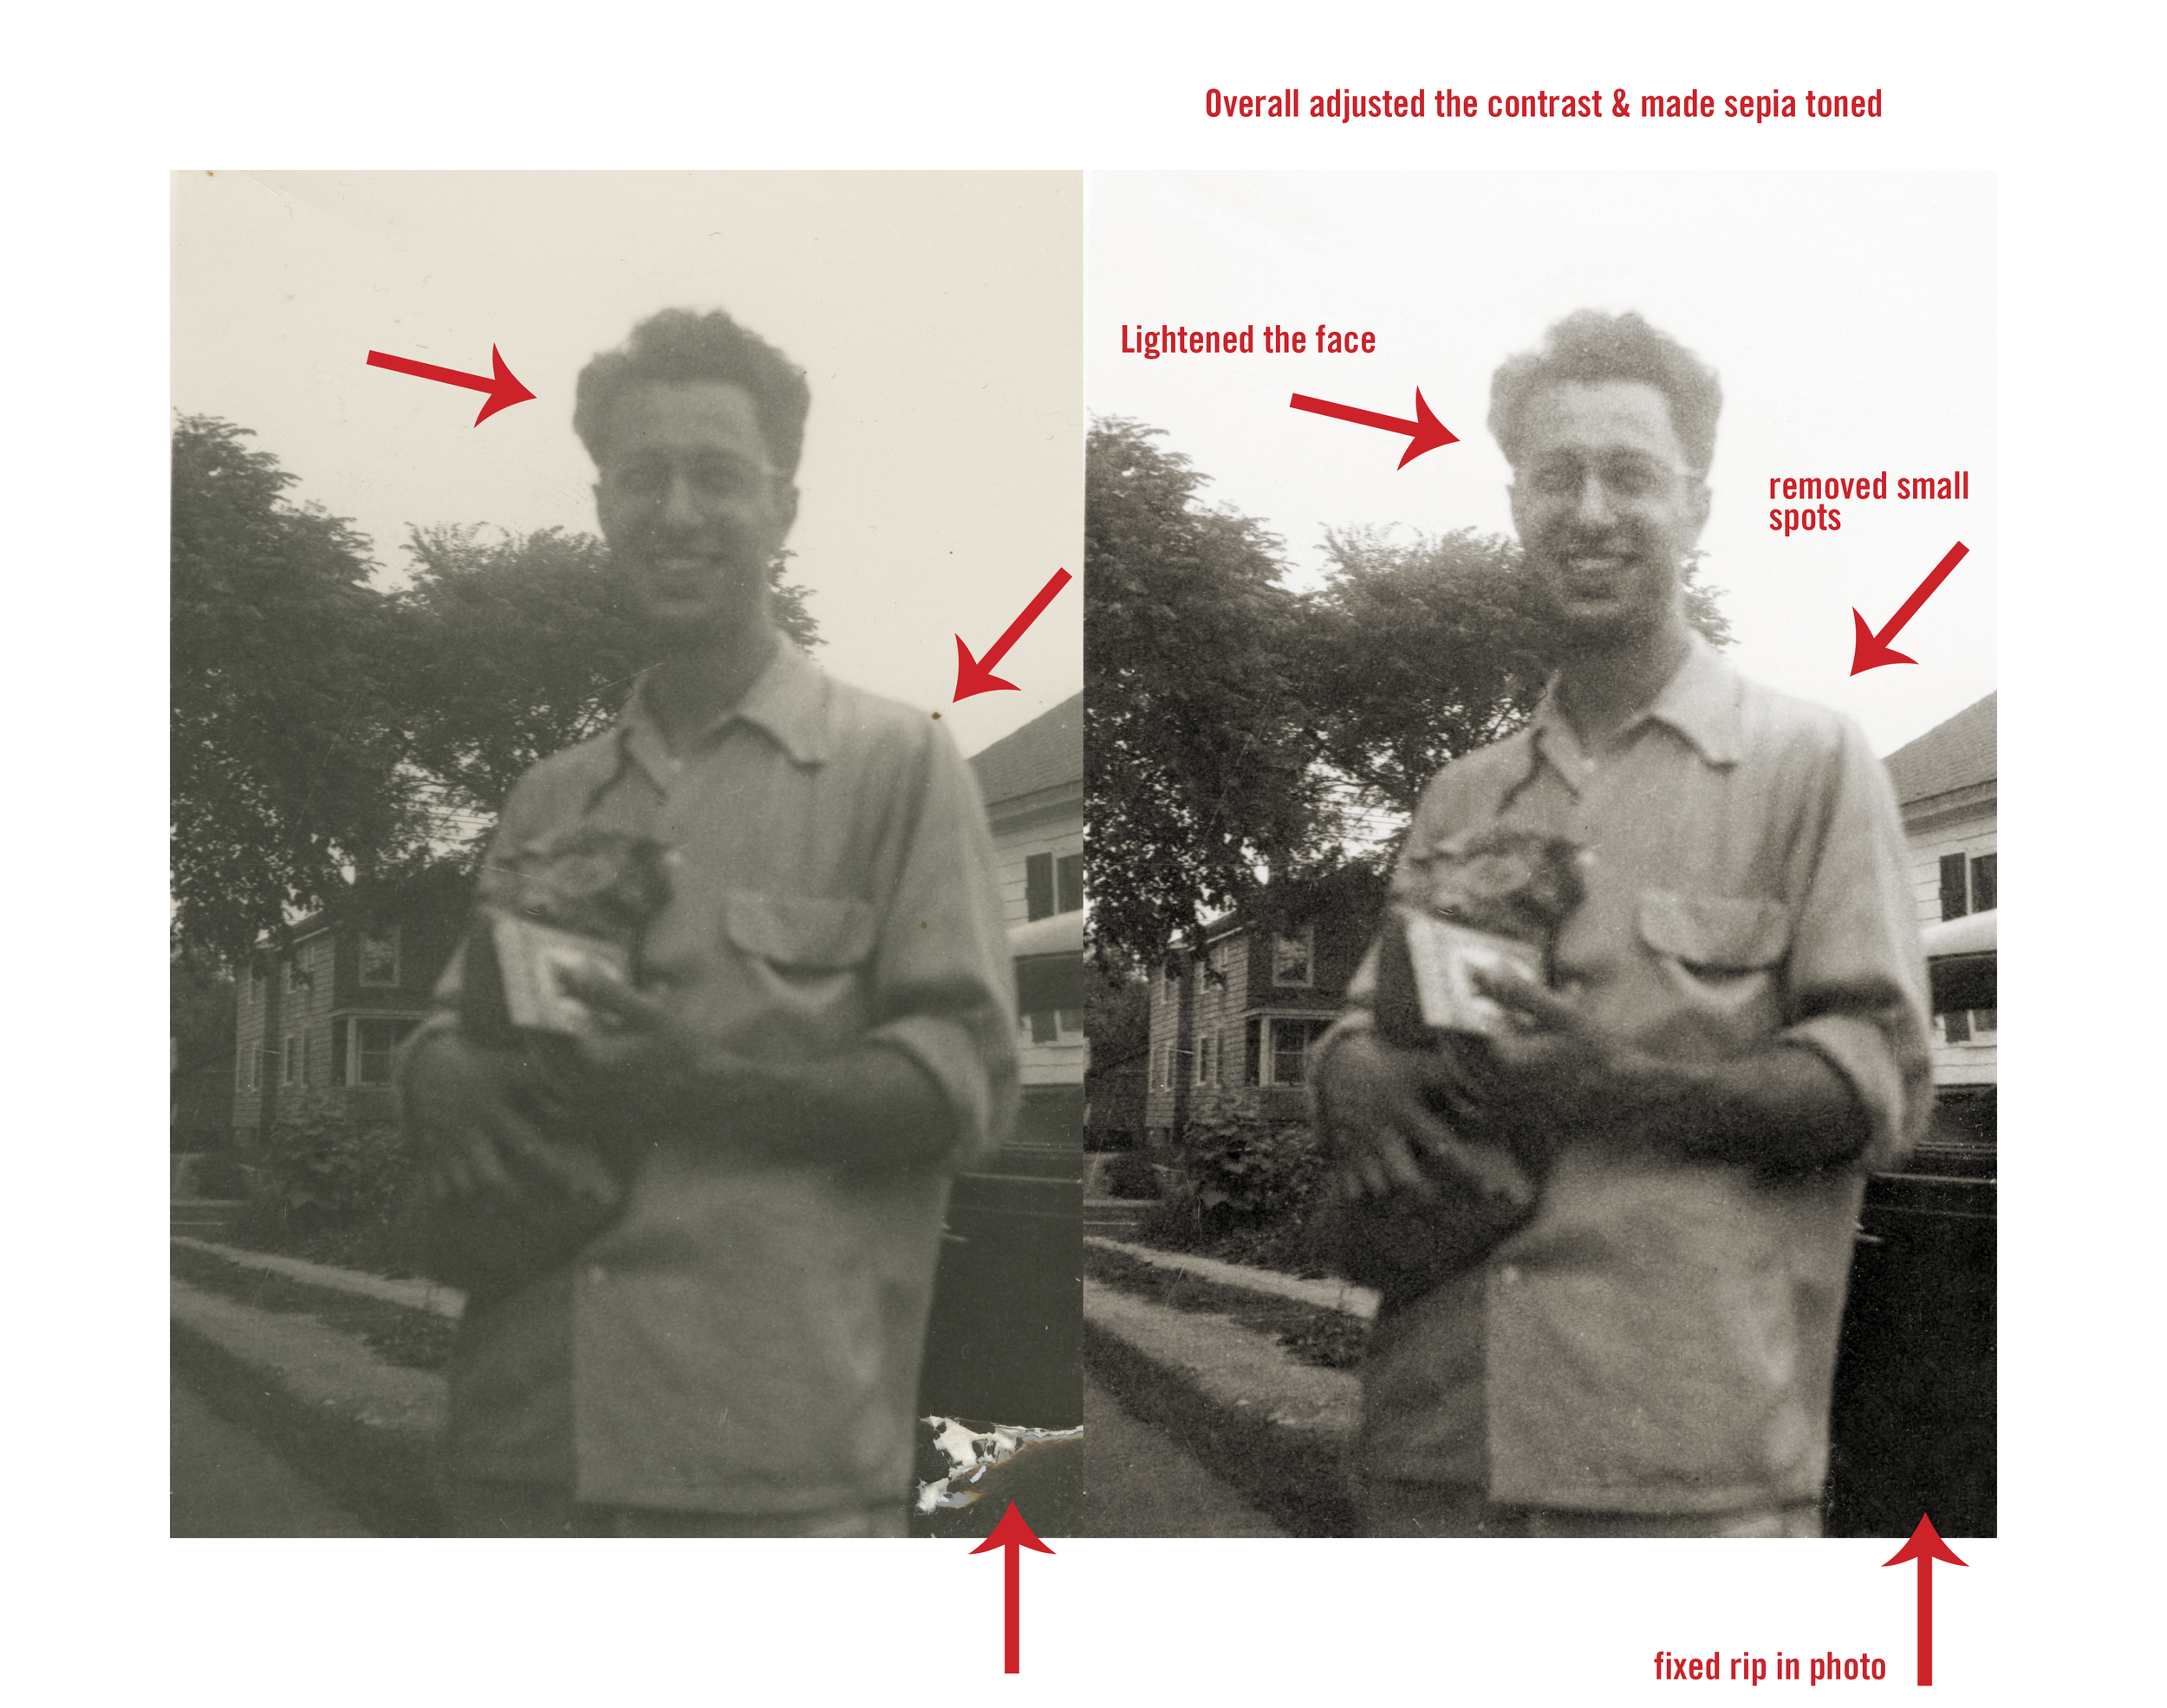
STEP 3: We make adjustments in Photoshop. Here we fix cracks & damage to the image. This takes time and each photograph is different, it can take as little as 5 minutes or as much as 3 hours. We also adjust the contrast of the image, making faces lighter or certain areas darker. We can adjust the tone and make it black & white, sepia, or brown tone. The sepia is our most popular option, it makes the image still feel like an old photograph.

STEP 4: Time to print! We use all archival inks and papers here. This means your new print will last as long as it is treated properly (keeping it away from moisture & direct sunlight). When we meet with you we will tell you the sizes we recommend printing. Most vintage photographs are small to start with so they look the best staying in the 5x7 to 8x10 size.

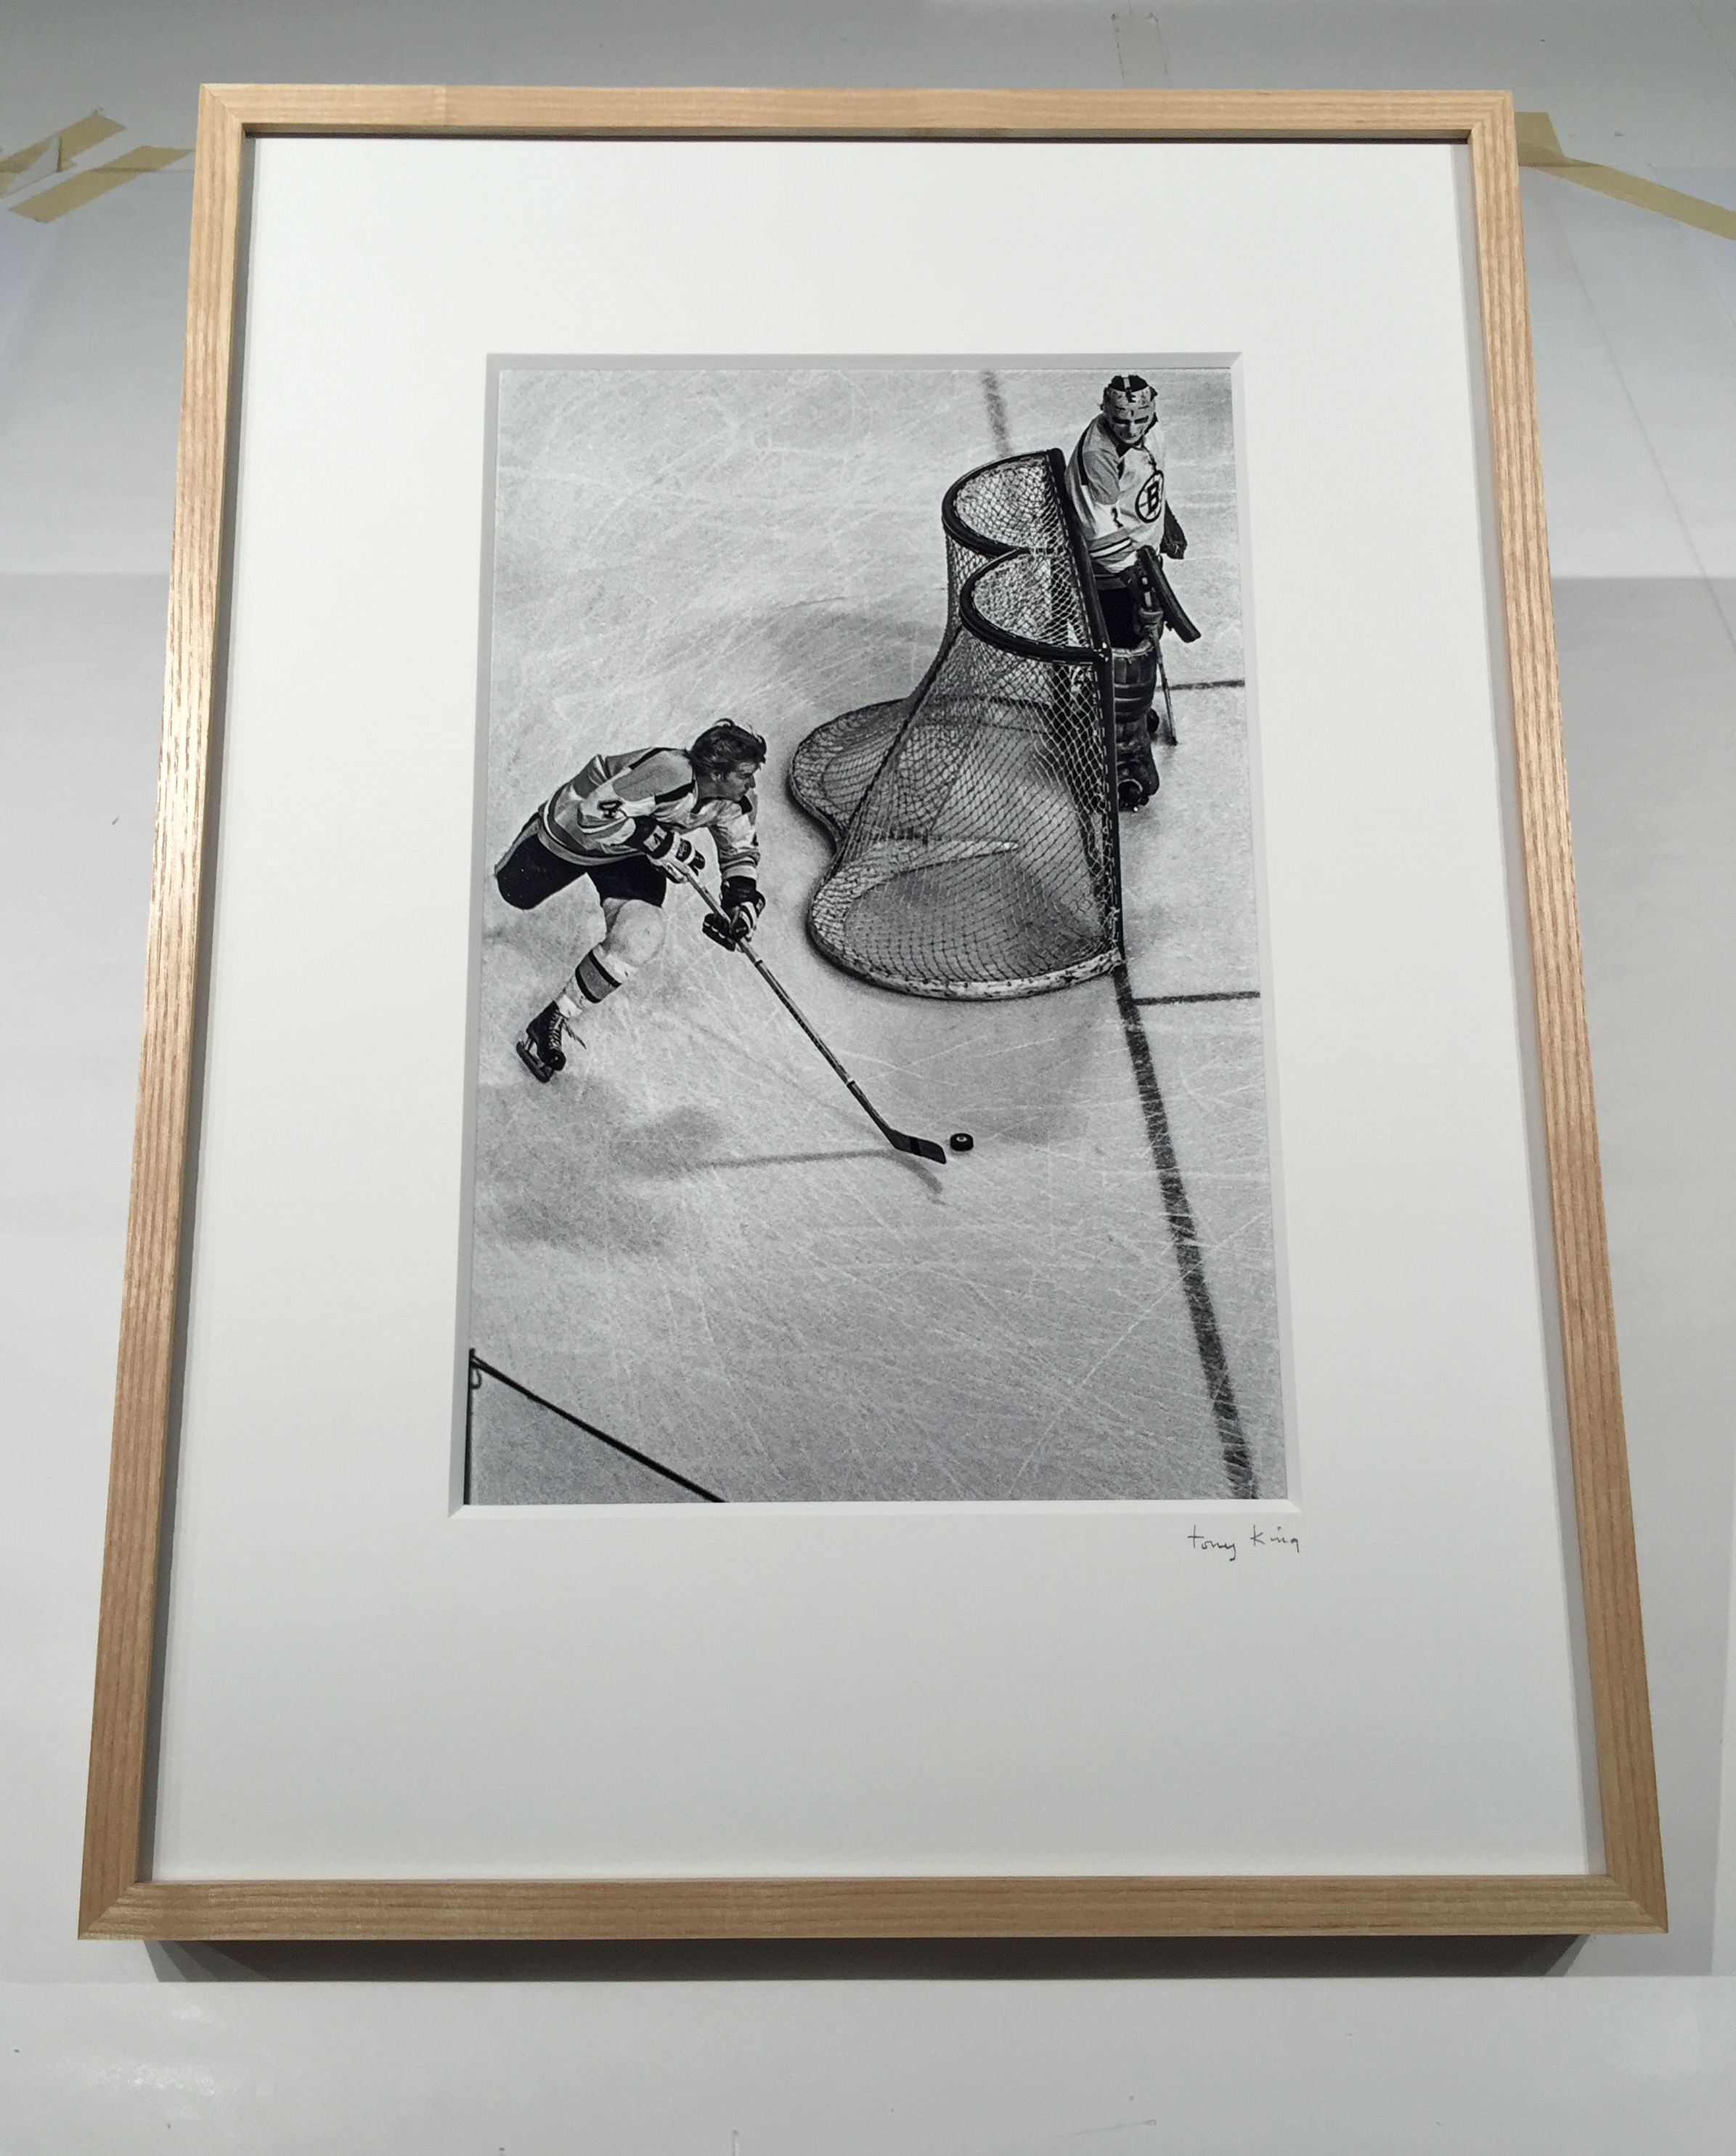
These were the adjustments made to this image:
Whatever happened to your photograph, we are happy to help bring it back to life! Stop by the office or give us a call at 781-740-1300.